


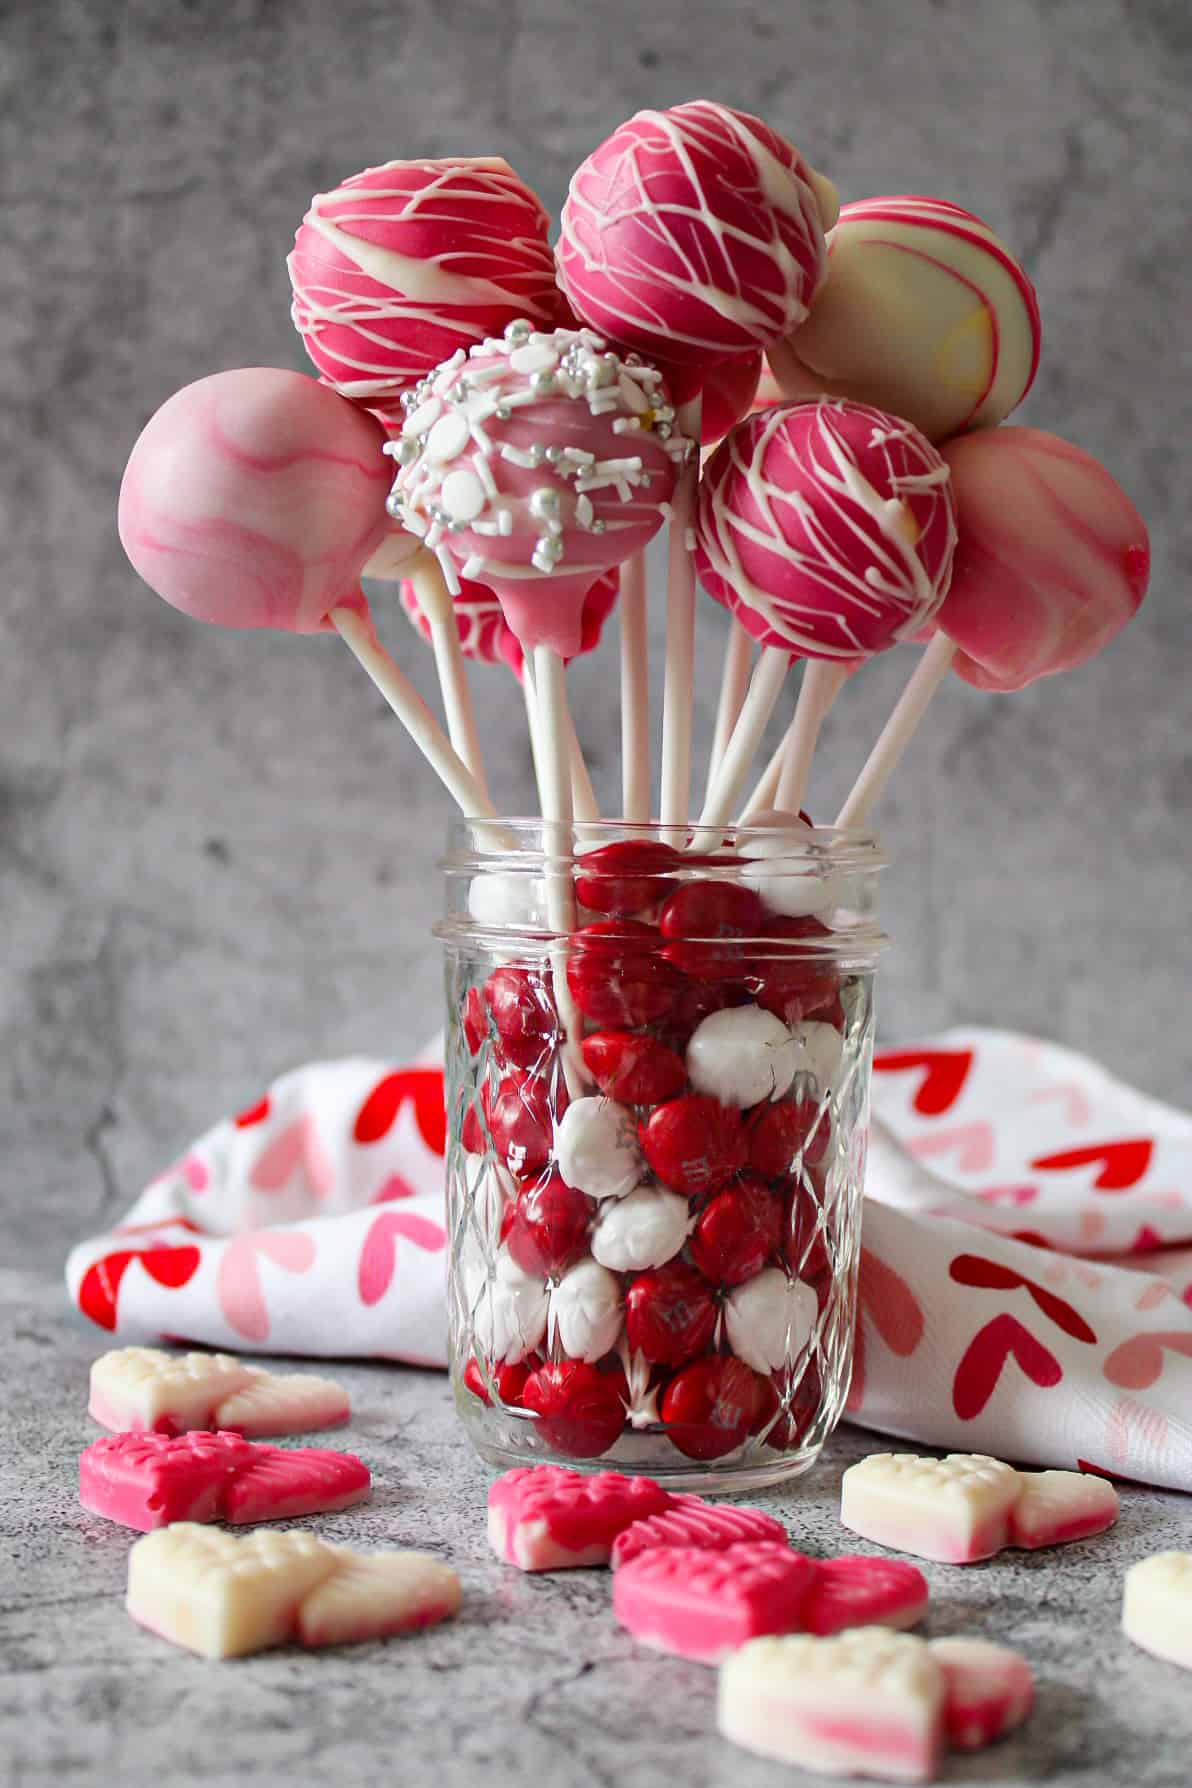
Happy Valentine's Day! No matter who you are celebrating Valentine's Day with this year, I've got the perfect treat. These festive cake pops are full of love, and not to mention fast and easy to make!
I'm not going to lie, I am not the biggest fan of cake pops. I always have high expectations that they are going to be good, and time after time I am very disappointed. Honestly, I would rather just have the normal cake not all mushed together.
So, why make them then? I had a bunch of leftover cake in the freezer and I figured that would be the perfect way to recycle the cake. I wanted to make cake pops that I would actually enjoy and turn my opinion on them around.
Cake Pop Recipe
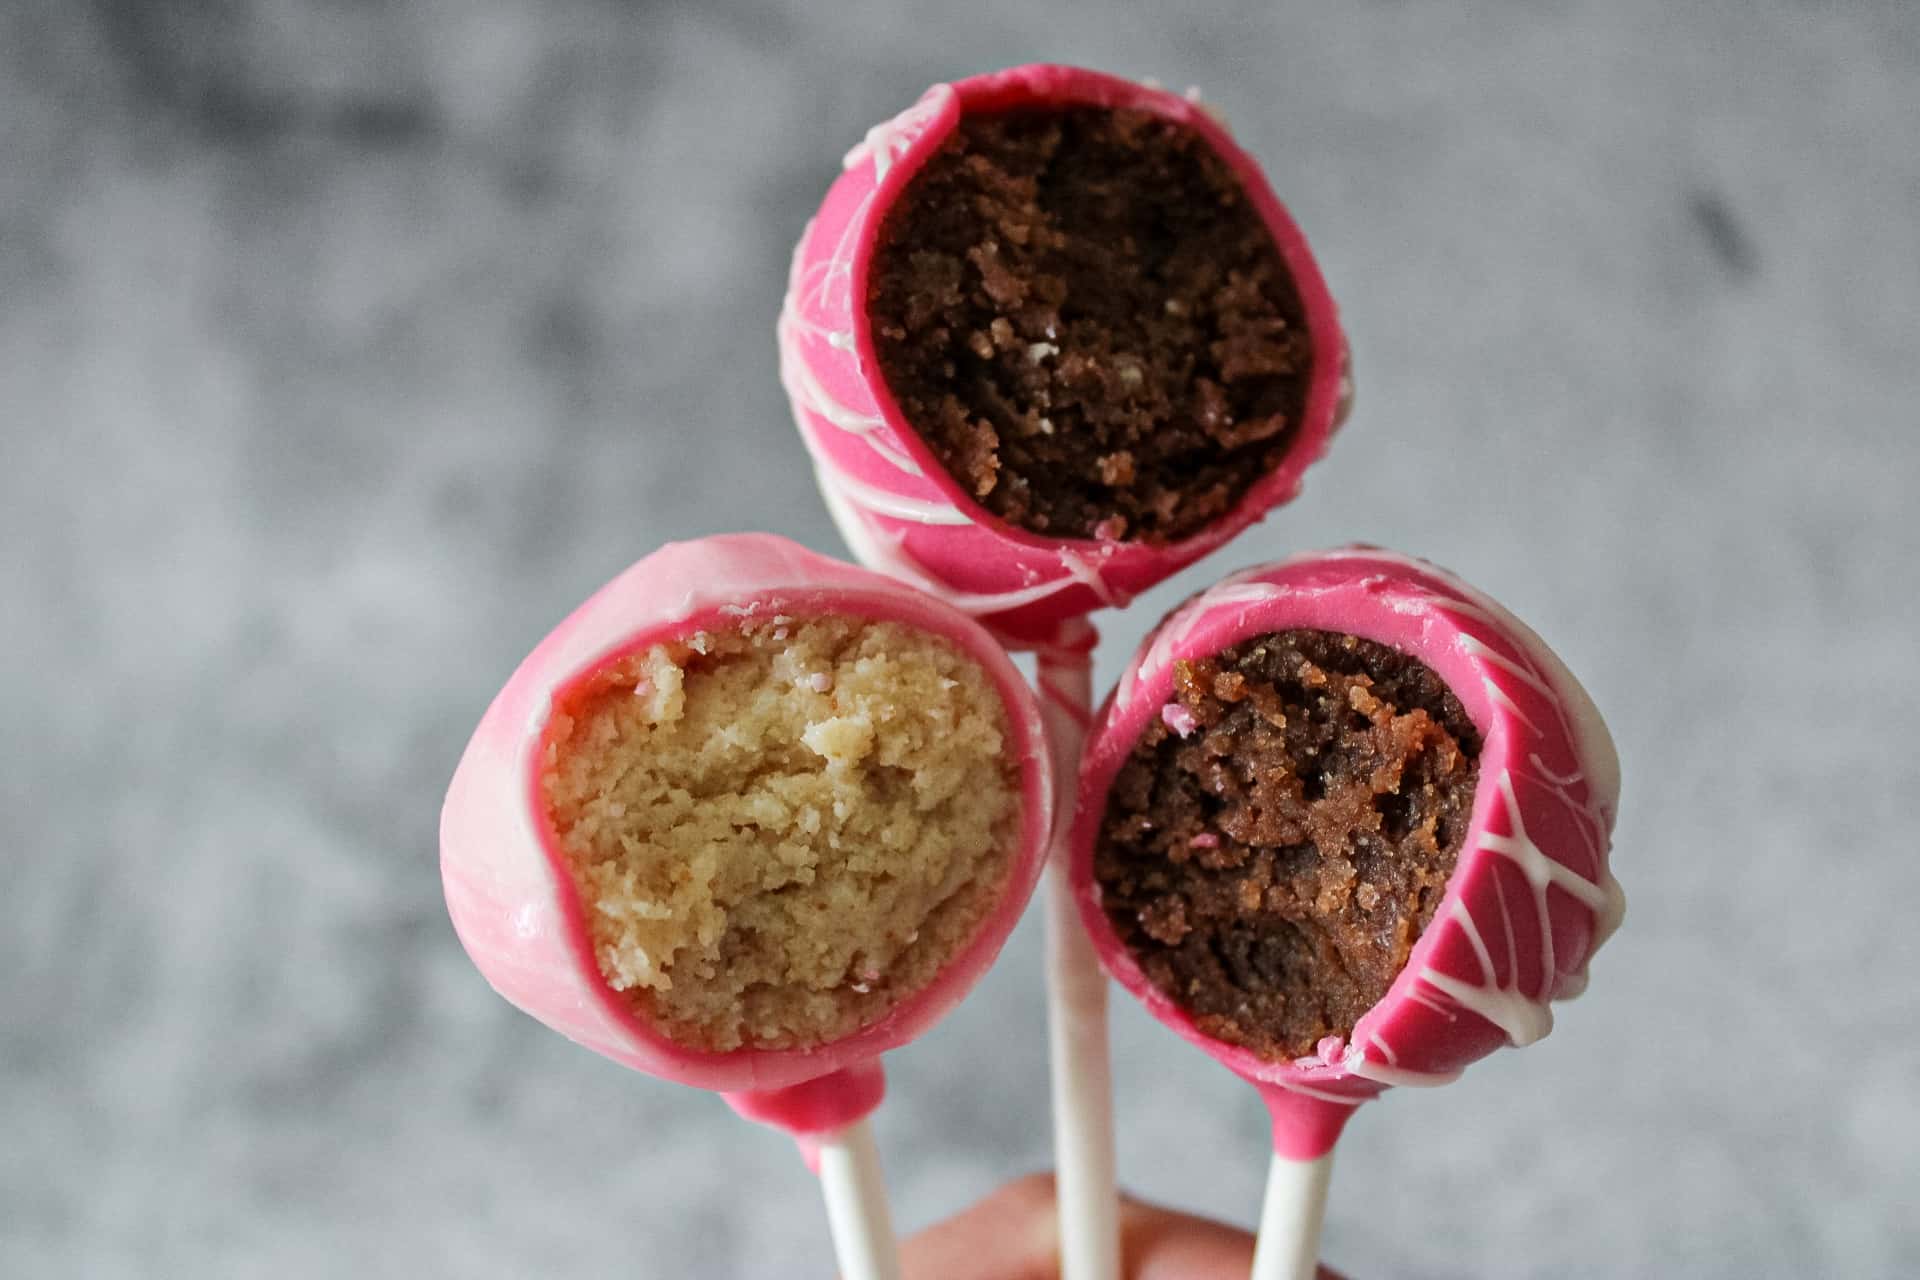
Cake pops are like a compact way to eat cake. They have cake, frosting, and chocolate. Whoever decided to crumble it all together to make a cake pop must have just wanted an easier way to eat cake. Regardless of the reason, I do have to admit that it is a clever idea.
So, how do you make them? All you have to do is take a baked cake and mash it up until it has a very crumbly consistency. Then, you add in a few tablespoons of frosting and mix it together until it has a paste-like consistency (they taste much better than this description, don't worry.)
Once everything is together, they get formed into small balls and get dipped into chocolate.
The key to making the cake balls is in the frosting. You would think to get them to be all mushy and compact you would need a lot of frosting. Actually, it is quite the opposite. The less frosting, the better! The frosting brings everything together and with too much, it just turns into a dense and unappetizing ball of cake.
Valentine's Day Cake Pops
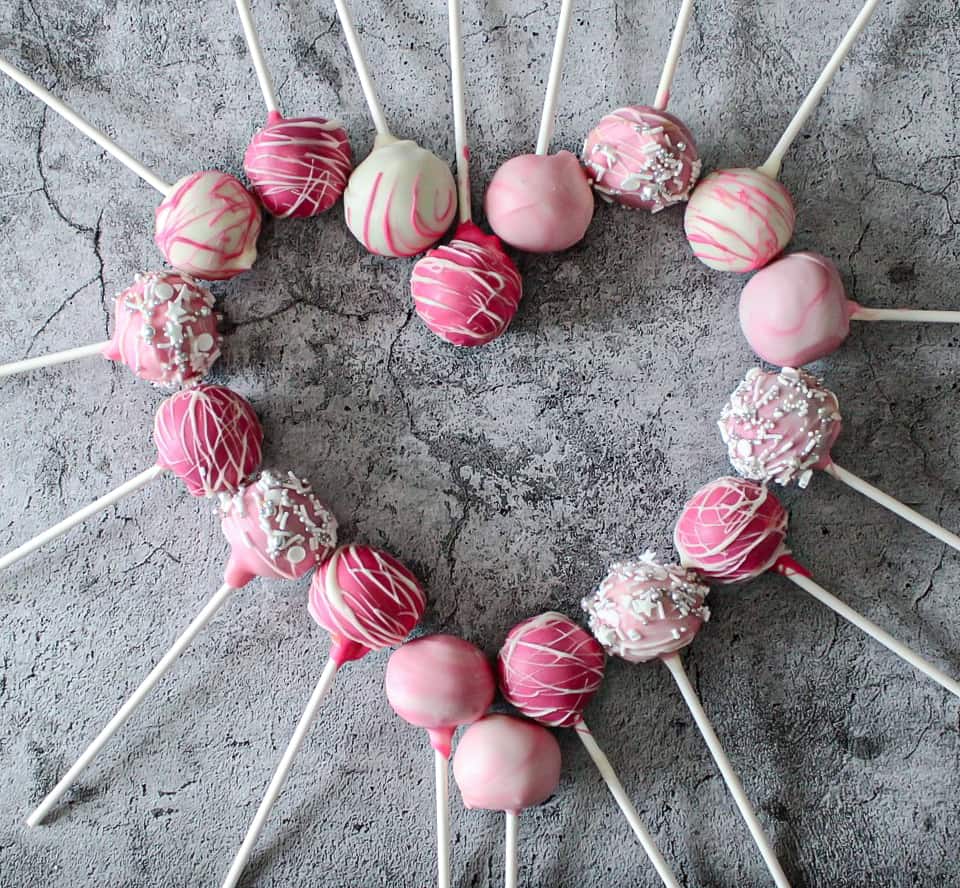
I dipped these cake pops in pink and white chocolate candy melts for a seasonal twist for Valentine's Day. While these definitely have a seasonal theme to them, you can dip them in any kind of chocolate to make them whenever you want. Go for red, white, and blue for July 4th or black and orange for Halloween. You can also choose a flavored cake on the inside if you really want to get into the details.
Ingreidents Needed For Cake Pops
- Leftover cake - you can make a cake or use a boxed mix to get the cake for cake pops
- Premade frosting
- Chocolate candy melts
- Lollipop sticks
How To Make Cake Pops
- Prepare: Prepare a sheet pan with parchment and set aside.
- Mash up the cake: Mash up your cake into a small crumb. If the cake has to be made, allow it to fully cool until smashing it down. The cake should look sandy when ready.
- Add in the frosting: Add 2 tablespoons of frosting to the cake mixture and mix until well combined. The cake and frosting should form together to look a little pasty, but not too mushy. If the cake looks dry add more frosting
- Form and freeze the cake balls: Using a cookie dough scooper or a spoon, roll out the cake balls. They should be around 1 tablespoon each. Place the balls on the sheet pan and let sit in the freezer for 1-2 hours. This will make it much easier to dip in the chocolate.
- Melt the chocolate: When you are ready to start dipping the cake balls into chocolate, melt the chocolate according to the directions on the package. Use a large glass to dip to place the chocolate in, as it will be much easier to dip the balls into.
- Prepare the sticks and dip: Dip the tip of the stick into the melted chocolate and insert it into the bottom of the ball. Then hold on to the stick and dip the cake pop fully into the chocolate. Move the stick around in a circular motion to allow for an even drip of the cake pop from the chocolate. Place in stand and let dry fully. If you want to add sprinkles or toppings, dip them in sprinkles before the chocolate dries in the stand. Repeat the steps with the remaining cake pops.
How To Store Cake Pops
The cake pops should last for about a week in a container and will last 2-3 months frozen in the freezer. To store in the freezer, place in a large Ziploc bag and let thaw for a few minutes before eating.
FAQs
Don't rush the process in the freezer. If the cake pops are not properly chilled, they will fall apart and be harder to frost.
Using a cake that is one day old is the best for making cake pops. You can use fresh cake if needed but try to use cake that is older for a firmer ball.
Less is more when it comes to cake pops. Keep the frosting and chocolate on the lighter side. You can always add in more if needed, but you cannot take it away.
Check out the recipe for the Valentine's Day cake pops below and have a great day full of love! XOXO

Valentine's Day Cake Pops
Ingredients
Equipment
Method
- Prepare a sheet pan with parchment and set aside.
- Mash up your cake into a small crumb. If the cake has to be made, allow to fully cool until smashing it down. The cake should look sandy when ready.
- Add 2 tablespoons of frosting to the cake mixture and mix until well combined. The cake and frosting should form together to look a little pasty, but not too mushy. If the cake looks dry add in more frosting
- Using a cookie dough scooper or a spoon, roll out the cake balls. They should be around 1 tablespoon each. Place the balls on the sheet pan and let sit in the freezer for 1-2 hours. This will make it much easier to dip in the chocolate.
- When you are ready to start dipping the cake balls into chocolate, melt the chocolate according to the directions on the package. Use a large glass to dip to place the chocolate in, as it will be much easier to dip the balls into.
- Take a few of the cake balls out of the freezer and prepare the sticks. Dip the tip of the stick into the melted chocolate and insert it into the bottom of the ball. Then hold on to the stick and dip the cake pop fully into the chocolate. Move the stick around in a circular motion to allow for an even drip on the cake pop from the chocolate. Place in stand and let dry fully. If you want to add sprinkles or toppings, dip it in sprinkles before the chocolate dries in the stand. Repeat the steps with the remaining cake pops.
Notes
- This recipe makes about 24 cake pops and uses about 1 full cup of mashed-up cake. The ratio of cake to frosting is ½ cup to 2 tablespoons of frosting. It may differ depending on your cake, so always start with less frosting.
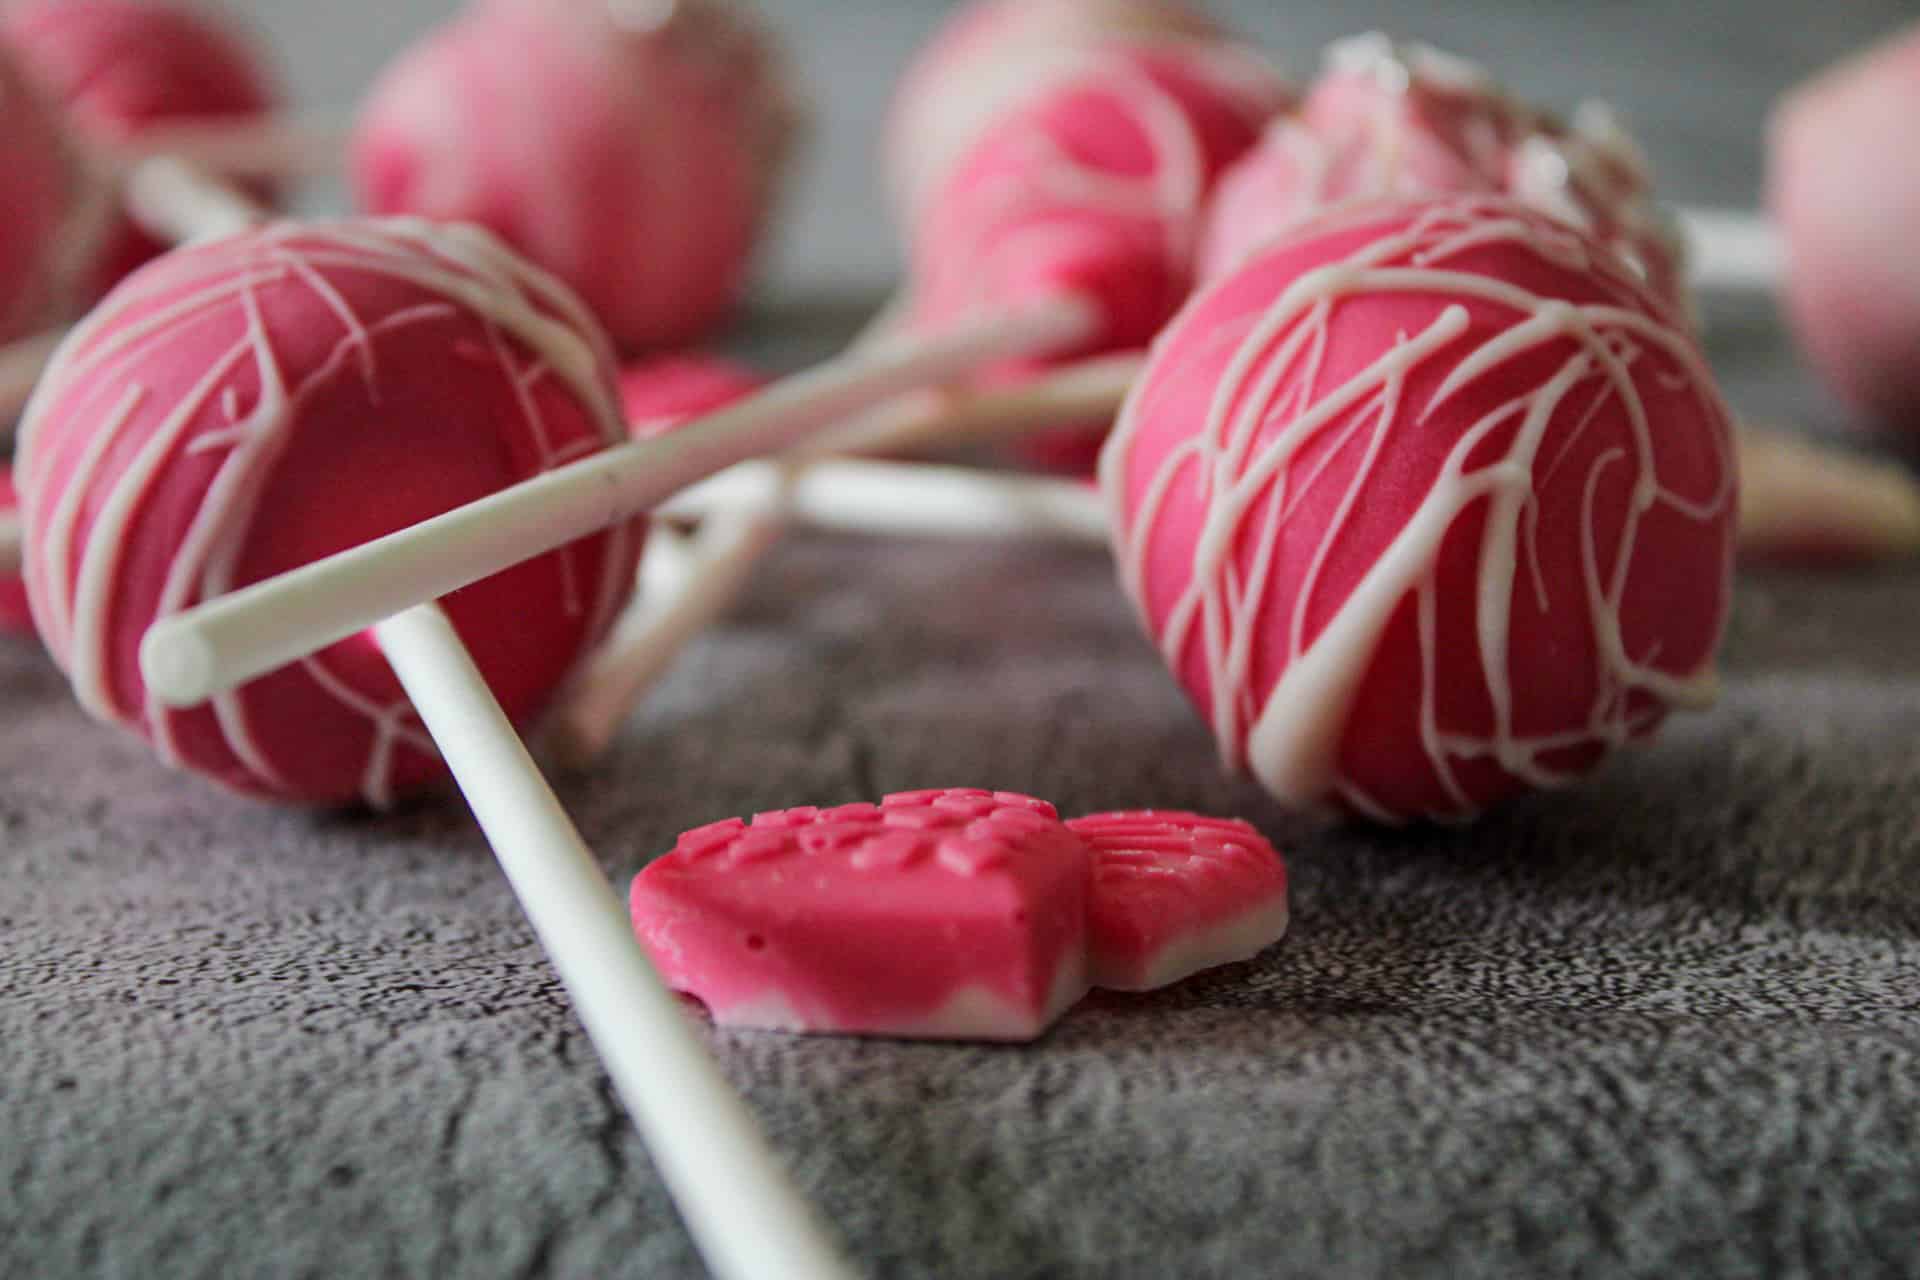
- To create a tie-dye design, layer the chocolate on top of each other in the glass and slowly swirl it. To create the splatter effect, drizzle the chocolate slowly on top of the dry layer.
- If you don't have a cake pop stand, use a cardboard box. Cut out small holes in the box so the lollipop sticks can stand up and dry fully. When they are dry, place them in a container or plastic bag.


Leave a Reply