These Italian rainbow cookies are better than what you'd get in the store. The fluffy cookies mixed with the sweet jam make a great bite.
Italian Rainbow Cookies fall into that category of baked goods that are sometimes easier to buy, or so I thought. For the longest time, I was convinced that these layer cookies were overly complicated and not worth the effort. After making a batch, I could not be more WRONG!
The cookies required a lot of time, patience, and attention, but they were well worth the effort. I mean, look at these!
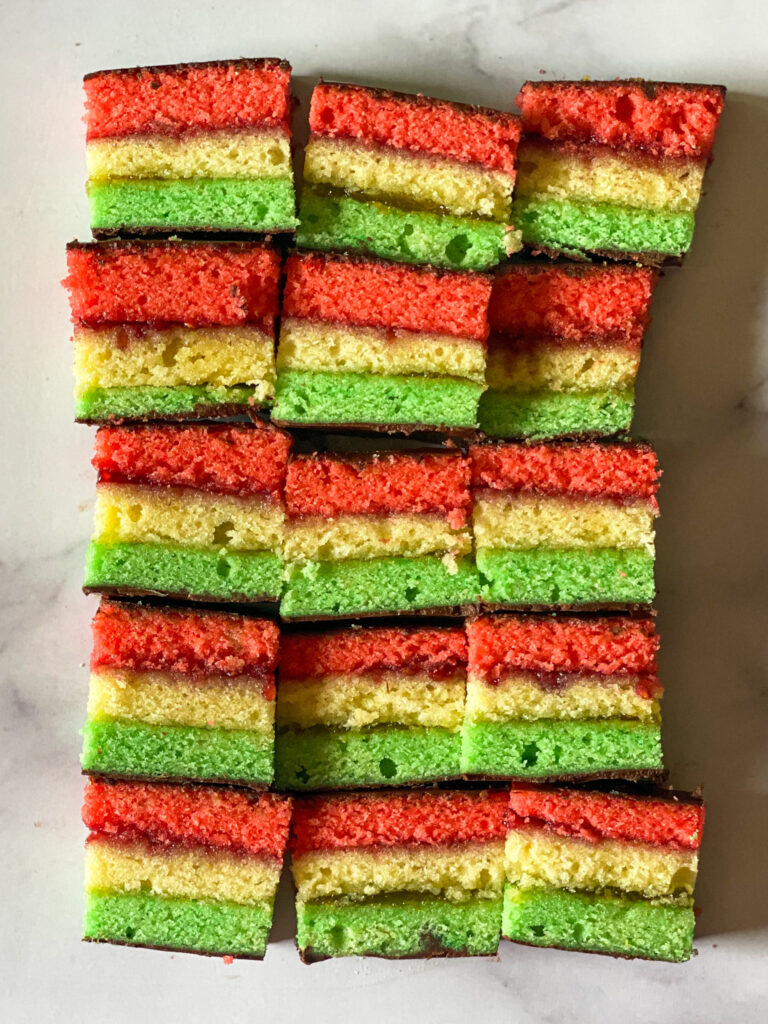
These cookies are all about the layers. Layers of chocolate, a fluffy cookie, and jam. Need I say more?
I adapted a recipe that was given to me by a friend's mom. Her mom is known for her rainbow cookies so it was the perfect jumping-off point. Since this recipe is all about the layers, let's talk about them!

First a layer of chocolate. I used a semi-sweet chocolate chip blend and melted them down. While some rainbow cookies only layer the top with chocolate, I decided to put a layer on the bottom as well. The more chocolate the better, right?
Next was a layer of the cookie. The cookies are made more like a cake and fluff up nice when baked. They have a light texture and a hint of almond flavor spread throughout.
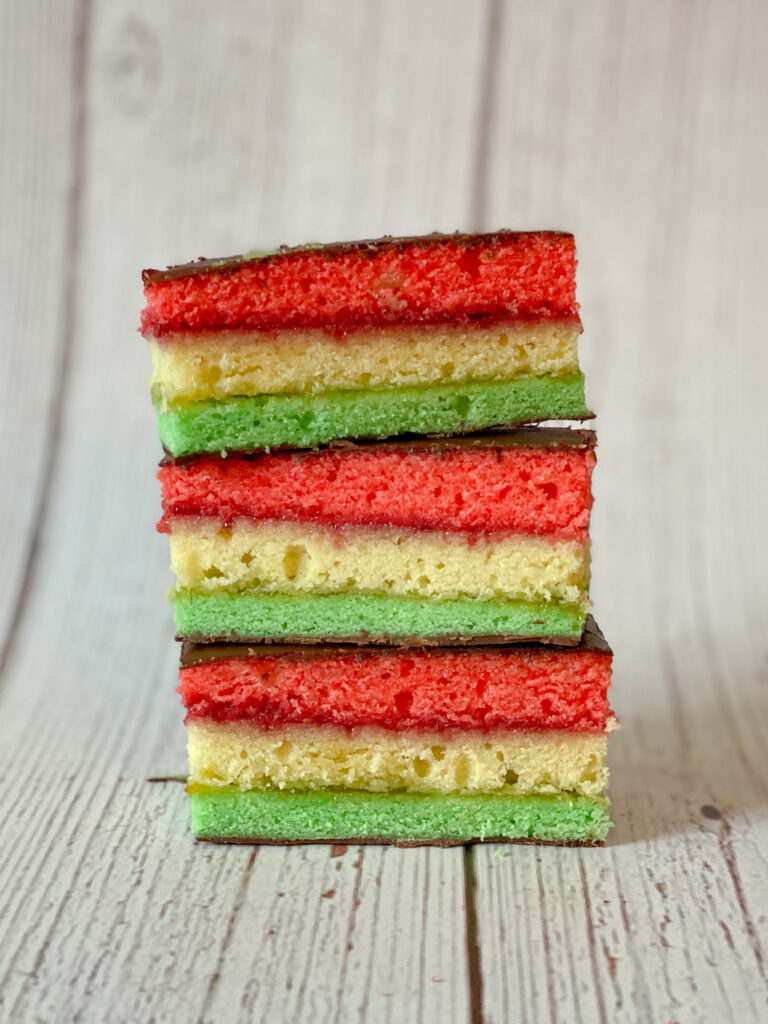
Stuck in between each cookie was a layer of jam. I decided since there were two layers of jam, I would use two different jams to maximize the flavor. Let me tell you, it was an excellent choice! I used a classic raspberry jam for one layer and a peach and apricot blend for the second.
The only problem with these cookies is you have to wait overnight to eat them! Talk about control!!
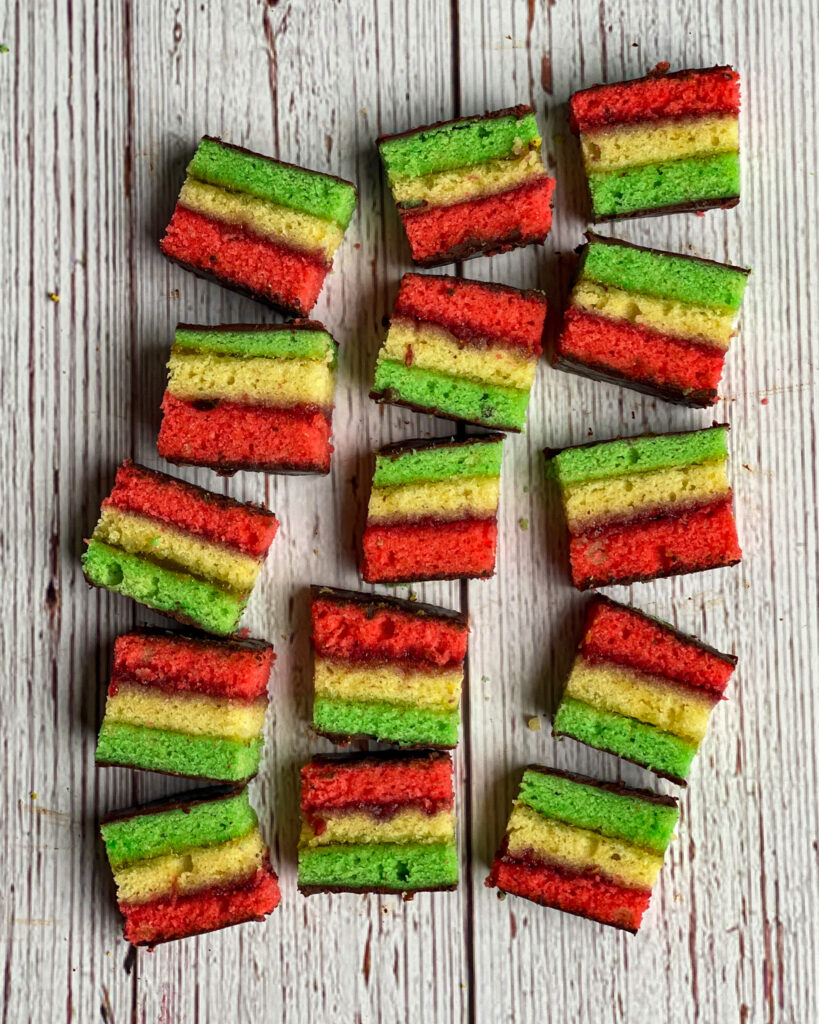
The next day I could not wait to dig into these cookies. It was too easy to just pop one in my mouth!
Check out the recipe below and see how easy they truly are to make for yourself!

Italian Rainbow Cookies
Ingredients
- 5 eggs, separated
- 1 and ⅓ cup granulated sugar
- 8 oz almond paste
- 1 cup (2 sticks) butter, softened
- 2 cups flour
- ¼ teaspoon salt
- ¼ cup raspberry jam
- ¼ cup peach jam
- 1 cup chocolate chips
- red and green food coloring (or food coloring of your choice)
Instructions
- Preheat oven to 350°. Grease and line 3 13x9 pans with parchment. Set aside.
- In a large bowl, whisk egg whites until soft peaks form. Once the soft peaks start to take shape, slowly add in ⅓ cup of the granulated sugar. Beat until stiff peaks form. Keep the egg mixture in the refrigerator to keep cool.
- Next, in a medium-sized bowl crumble the almond paste. You can do this with your hands or with a fork. Beat the almond paste with the remaining sugar until the mixture comes together, about 5 or so minutes. Once combined, add in the butter. Once the mixture looks a bit fluffy, add in the egg yolks, flour, and salt.
- Take the egg white mixture out of the refrigerator and gently fold it in the almond paste mixture. Do not over mix as the batter will lose its shape.
- Divide the batter into 3 equal parts (or more if you are making more colors). Add in the additional food coloring, making sure to mix lightly to avoid overmixing the batter. Spread the batter on the prepared pans using a spatula. Make sure the batter is flat and even on the pans.
- Bake the cookies. Place the trays in the oven for about 11 minutes, rotating halfway. Once fully cooked, take the pans out of the oven and let them fully cool on.
- While the cookies are cooling, melt the chocolate using a double boiler or in the microwave (If using the microwave, make sure to do so in increments so the chocolate does not burn).
- Brush the chocolate on a long piece of parchment. Then turn the 1 layer of cookies on top of the chocolate. Next, add a layer of jam on top of the first layer of cookies. Repeat with the second layer of cookies and then jam. Add the final layer of cookies and top with the remaining chocolate.
- Cover with foil and place the cookies in the fridge to settle overnight. This will allow the layers to fuse into one.
- The next day, trim outside layers of the cookies to form an even edge. Cut into small rectangular pieces and enjoy!













Leave a Reply