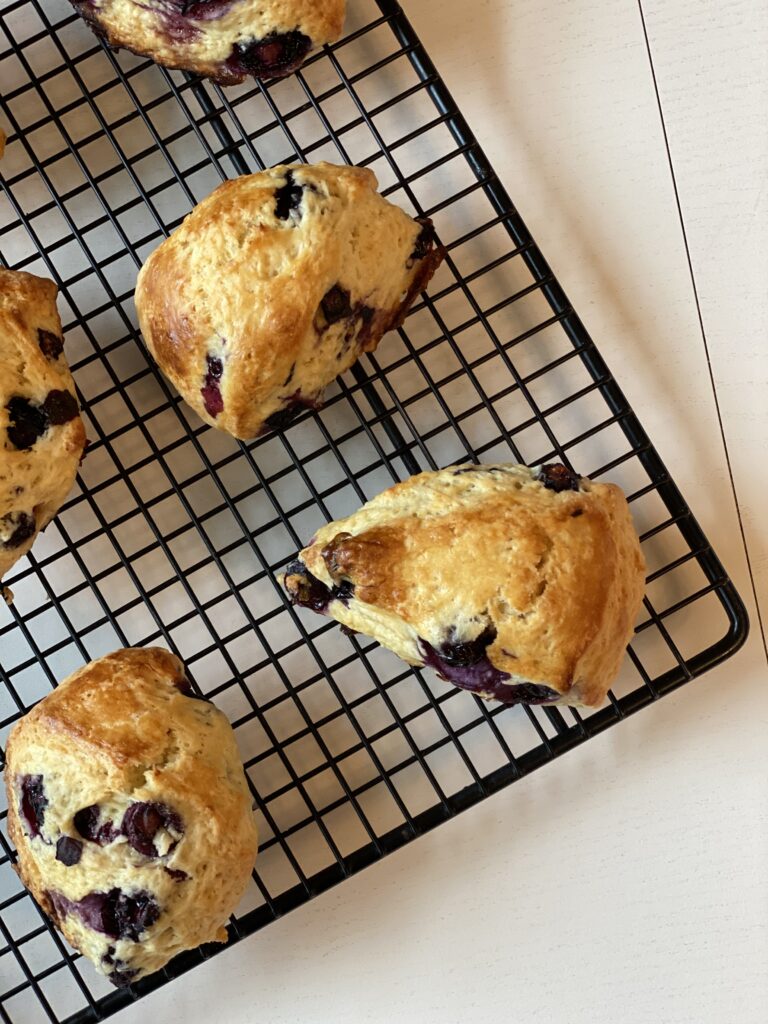
Dive into breakfast with these flakey classic scones. The buttery and moist scones are best fresh out of the oven. Eat them plain or stuff them with your favorite fruit.

These scones hit the spot when it comes to breakfast. They are flakey, buttery, and super moist. They also crisp up really nicely in the oven, but not so much that they have a burnt quality.
Classic Scone Recipe
I wanted to make two different flavors and compare how the mix-ins would hold up in the dough. One half was filled with blueberries, while the other got some orange zest and dried cranberries mixed in.
The blueberries gave the dough a sweet flavor, while the orange zest brought out the brightness in the second batch.
What I love so much about this recipe is its versatility. (Also, one bowl and no mixer!!) The dough has a base that works really well with other ingredients. Anything can pretty much be added in. Dried fruit, chocolate chips, or even some cheddar cheese and chives would go great. Trust me, you truly cannot go wrong.
Ingredients Needed To Make Classic Scones
- All-purpose flour - The base of the scones
- Buttermilk - Keeps the scones moist and fluffy.
- Butter - Frozen butter will give the scones an extra flakey texture.
- Mix-ins - I used blueberries and orange zest. However, most fruit or chocolate chips will work.
Directions For How To Make Classic Scones
- Mix dry ingredients.
In a large bowl, mix together flour, sugar, salt, and baking powder. Set to the side.
- Make the dough.
Next, use a box grater to grate the frozen butter into the dry ingredients. Combine the two mixtures using a pastry cutter or your fingers until the flour resembles a pea-sized crumb and is very dry. Place in the refrigerator to keep cool.
- Form the scone dough.
In a medium-sized bowl, mix together ½ heavy cream, the egg, and vanilla. Remove the flour and butter mixture from the refrigerator and mix the wet ingredients into the dry. Add in any mix-ins (such as blueberries, lemon zest, chocolate chips, etc.) during this stage.
- Shape the dough.
Pour the dough onto a floured surface and form into a loose ball. Shape the ball into an 8-inch disc. Using a knife or a bench scraper, cut the dough into pieces.
- Prepare for baking.
Place the scones on a prepared baking sheet and brush them with the remaining heavy cream or buttermilk. Place the prepared scones in the refrigerator or freeze for 15 minutes and preheat the oven to 400°.
- Bake the scones.
After 15 minutes, place the scones in the oven for about 18-24 minutes. Keep an eye on them and remove them from the oven when they form a golden brown ring around the edge. The larger scones may take 25-30 minutes to bake.
Make Ahead and Storage
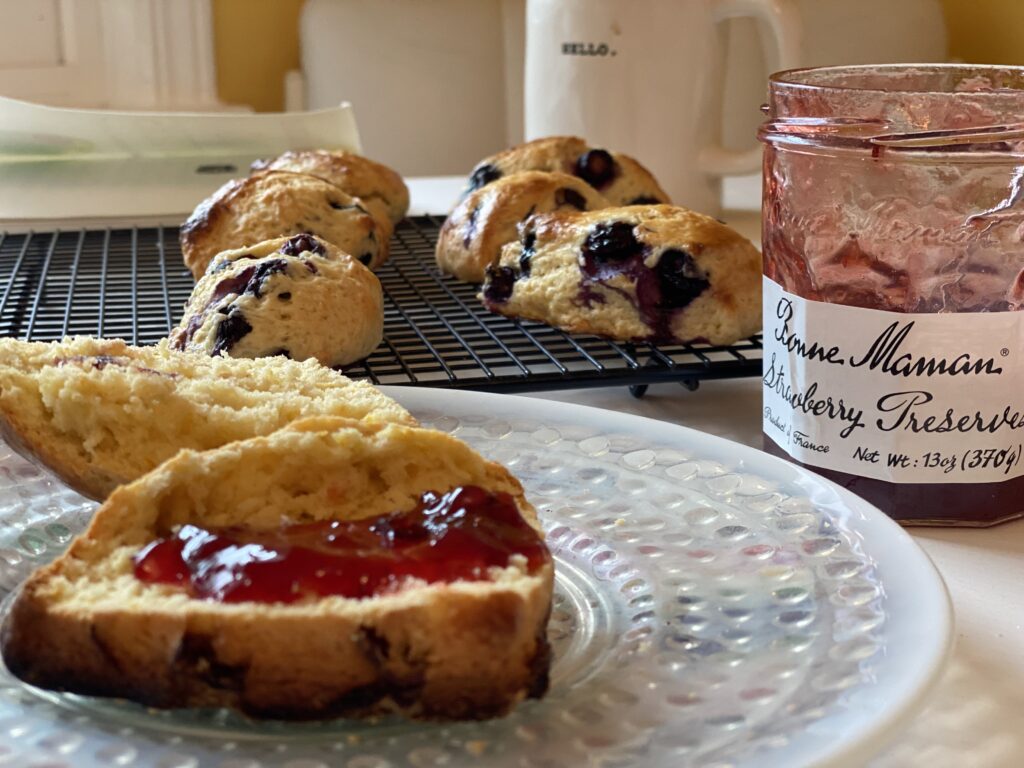
The best part about these scones is they can easily be made ahead of time. Store the prepared scones in an airtight container to retain peak freshness. The scones will last about 2-5 days when stored properly.
The scones can also be made and frozen in a plastic bag or airtight container. Bake the scones and wait until they are fully cool to freeze them.
Tips and Variations
- Mix-ins - Get creative with what you mix in the scones. Add strawberries, chocolate chips, and Nutella, or keep them plain.
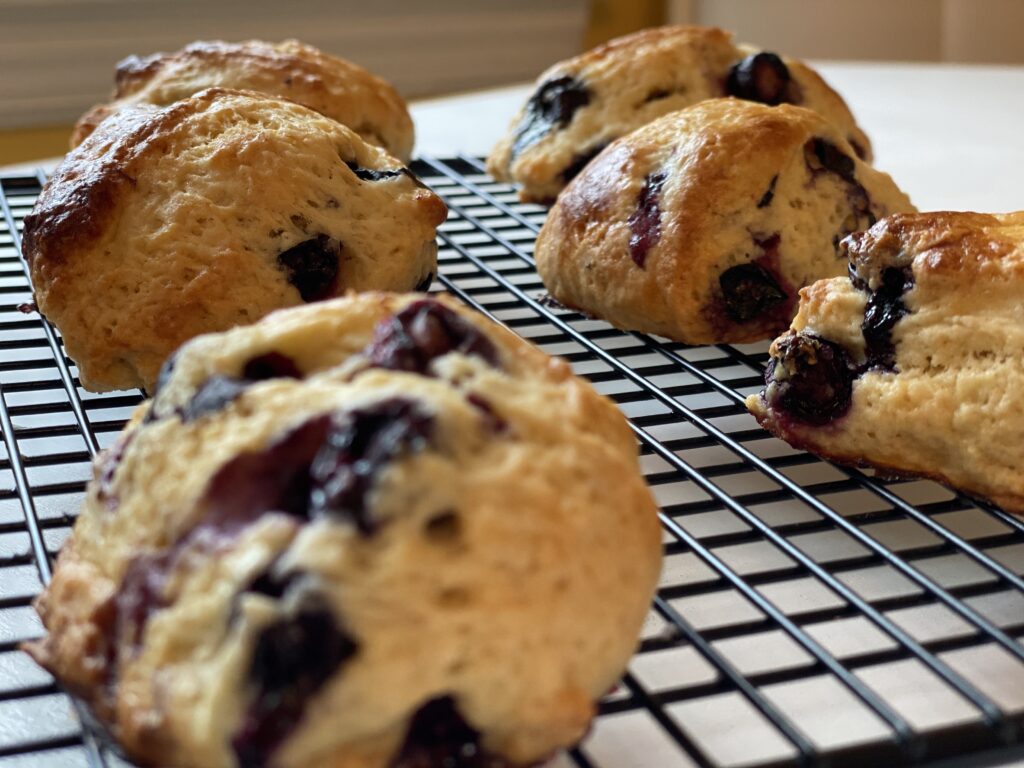
- Lather them up - Don't be shy about lathering the scones with buttermilk or heavy cream before they hit the oven. That will give them a shiny, crisp outside.
- Double the recipe - Double the recipe of the scones and keep half of them in the freezer. That way, you can have a breakfast scone anytime you'd like.
FAQs
All-purpose flour is the best kind of flour to use when it comes to making scones.
To give your scones more height, keep the dough thick and let them slightly touch each other in the oven. When touching, the scones push against each other to create some height.
If you bite into your scone and find it a bit doughy in the middle, you probably overmixed the dough. Mix the dough until it just comes together.

Weekend Brunch Scones
Ingredients
- 2 cups all-purpose flour, plus extra for sprinkling
- ½ cups granulated sugar
- ½ teaspoon salt
- 2 and ½ teaspoon baking powder
- ½ cup (1 stick) unsalted butter, frozen
- ½ cup buttermilk or heavy cream (plus 2 tablespoon for coating)
- 1 and ½ teaspoon vanilla extract
- 1.5 of any additional ad-ins
Instructions
- In a large bowl, mix together flour, sugar, salt, and baking powder. Whisk to combine.
- Next, use a box grater to grate the frozen butter into the dry ingredients. Combine the two mixtures using a pastry cutter or your fingers until the flour resembles a pea-sized crumb and is very dry. Place in the refrigerator to keep cool.
- In a medium-sized bowl, mix together ½ heavy cream, the egg, and vanilla. Remove the flour and butter mixture from the refrigerator and mix the wet ingredients into the dry. Add in any mix-ins (such as blueberries, lemon zest, chocolate chips, etc.) during this stage. Mix until combined. The mixture should be firm, but still moist and sticky.
- Pour the dough onto a floured surface and form into a loose ball. Don't worry if the dough is still sticky. If it looks a bit too sticky, add in a little more flour. However, if it seems too dry, add in 1-2 Tablespoons of heavy cream.
- Shape the ball into a 8-inch disc. Using a knife or a bench scraper cut the dough. For large scones, aim for 8 wedges. For smaller scones, split the dough into two 5-inch discs and cut into 8 wedges.
- Place scones on a prepared baking sheet with parchment about 2-3 inches apart. Brush scones with the remaining heavy cream or buttermilk. This will give the scones an extra crunch when baking. Place the prepared scones in the refrigerator or freeze for 15 minutes.
- While the scones are sitting in the fridge, preheat the oven to 400°.
- After 15 minutes, place the scones in the oven for about 18-24 minutes. Keep an eye on the scones are remove them from the oven when they form a golden brown ring around the edge. The larger scones may take 25-30 minutes to bake.







Leave a Reply